How to Add Brickcom cameras to MxCC
1. Install the camera to the desired location.
2. Configure the network settings so that the camera is on the local network
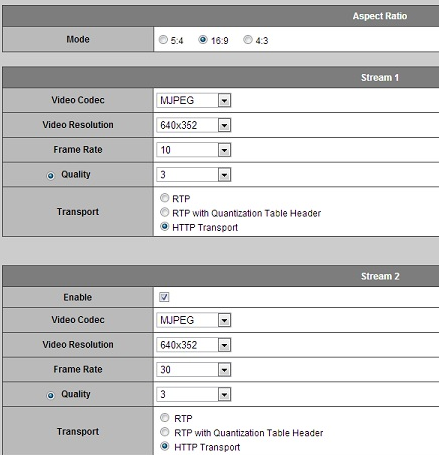
3. On the Brickcom cameras configure the Video stream that will be used for live viewing to – Video Codec = MJPEG and Transport to HTTP Transport. (Image 1)
4.Apply the changes and exit the configuration
From MxCC
1.Under “Video Sources” Highlight “Cameras” Right click and select “Add Video Sources”.
2. Click “Cancel Search” to stop the automatic discovery of cameras.
3. Click the “CAMERA” button, under “Insert Manually”
4.“Type” select “Generic IP Camera”.
5.“Address” is the IP address of the Brickcom camera.
6.“User Name” is the log in name for the Brickcom camera.
7.“Password” is the password for the Brickcom camera.
8.Click “OK”
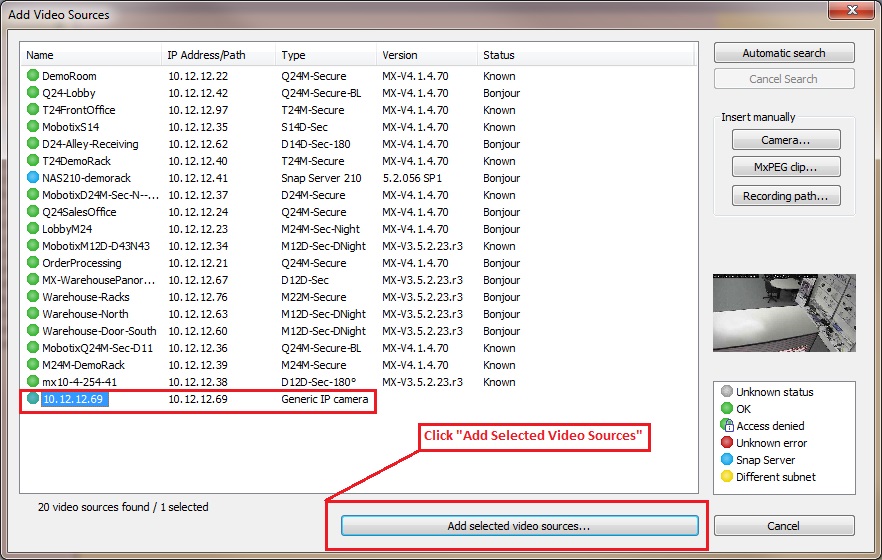
9.You will see the added camera listed in the “Add Video Source” dialogue box.
10.Highlight the Brickcom camera.
11.Click “Add Selected Video Source” to add the camera to the MxCC.(Image 2)
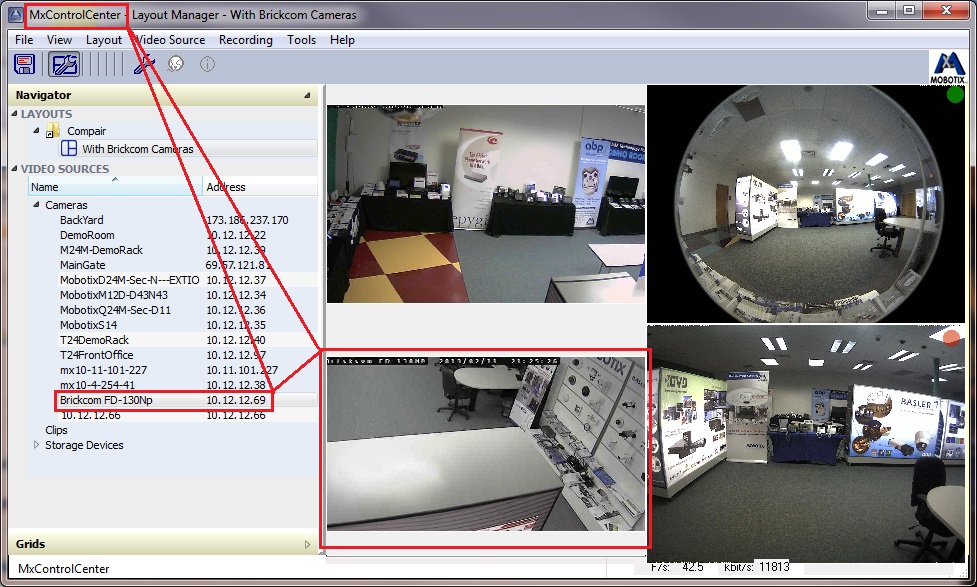
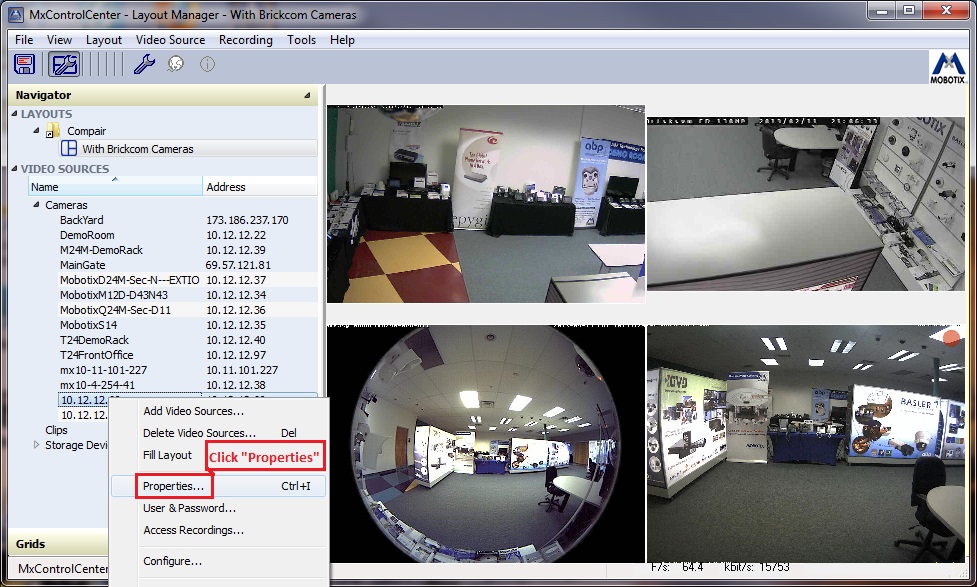
12. From within MxCC select and Highlight the added Brickcom Camera and Right Click
13. Select “Properties”(See Image 3)
14.Select the “Urls” tab in the dialogue box that opens up.
15.In the area labeled “Image – Live(M-JPEG): type in “/Channel1” to have Mobotix display the live view from stream 1 of the Brickcom camera. Use “/channel2” to stream the video from stream 2 of the Brickcom camera – NOTE: DO NOT INCLUDE THE DOUBLE “ IN THE DIALOGUE BOX.(Image 4)
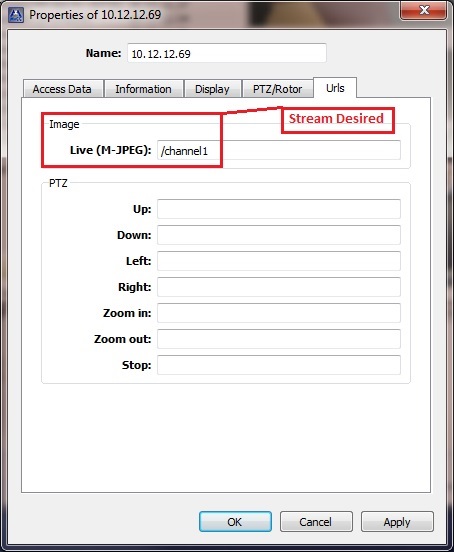
16.Click the “Apply” button then the “OK” button.
Your Brickcom camera should be no displaying live images in MxCC